Handmade Home: Revamp a Chair
A coat of paint and some fresh fabric can turn estate sale and flea market furniture into just-right pieces for your home
|
|
Are you having trouble finding that perfect piece of furniture for a
certain spot in your home? It can be difficult and time consuming to
find exactly what you're looking for, especially if you have a tight
budget. I find estate sales to be a great source for quality furniture
at a good price. The problem is, you may find something that's dated.
Don't worry. With a little bit of effort you can give a piece a
brand-new look.
To find estate sales in your area,
check the local papers or search online. Many companies have websites
and you can preview the goods available at each sale. If you don't have
any luck there, try auction houses, thrift stores or antique shops.
|
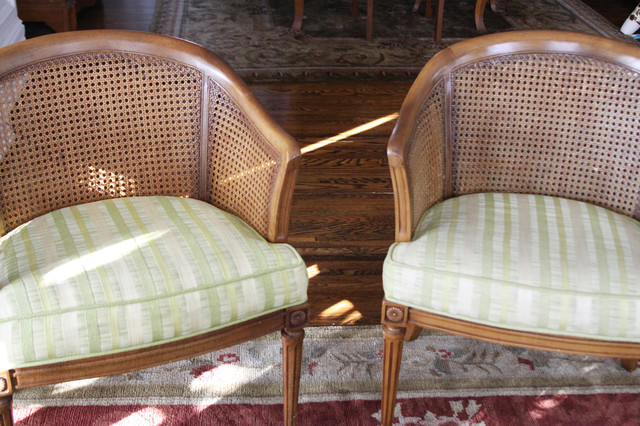
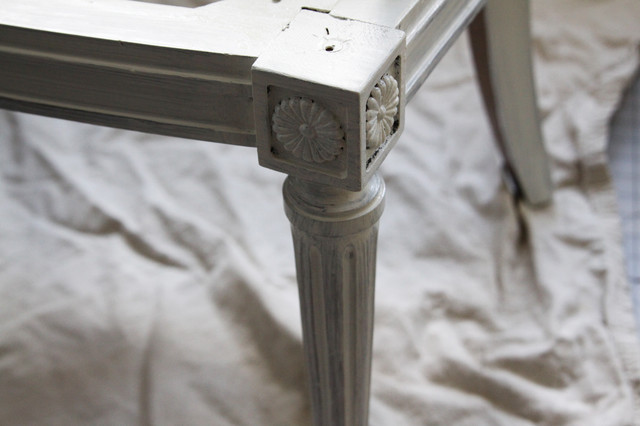
I found these two chairs at an
estate sale. The pieces were in great shape, and I knew with a little
paint and some new fabric they would work in our living room.
There were originally priced at $140 each. I didn't want to buy them at that price, so I left my number with someone from the estate sale company and asked for a call if the chairs were still there at the end of the day. Turns out I was able to pick up the pair for $140. |
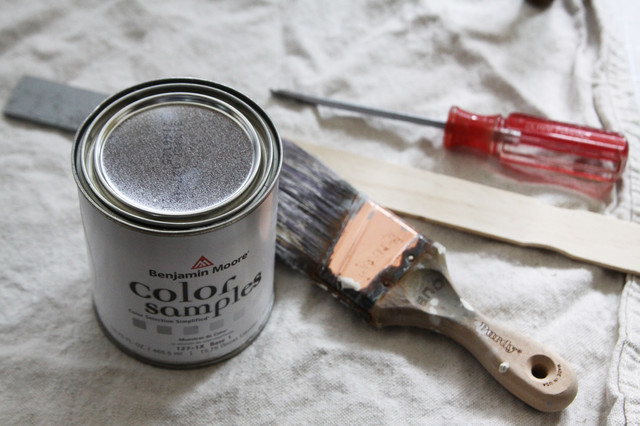
A while back I had received a
coupon for two free samples of Benjamin Moore paint, so I used one of
those to paint the chairs. The color is Linen White.
|
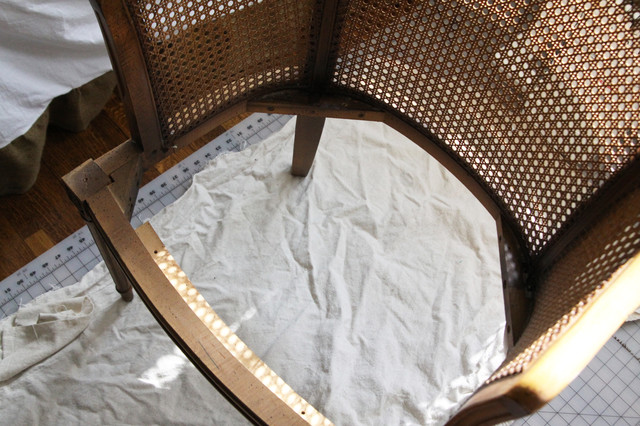
I started by removing the chair
cushions. To take off the cushion, just turn the chair over and unscrew
the cushion from the chair frame.
|
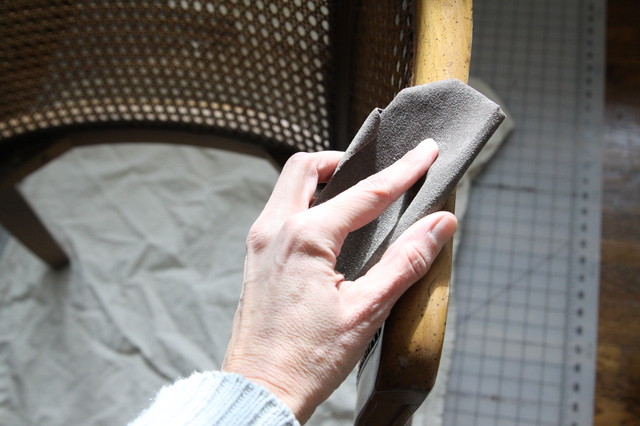
Sand the surface of the frame with a fine-grit paper. After sanding, wipe with a damp cloth to remove any dust.
|
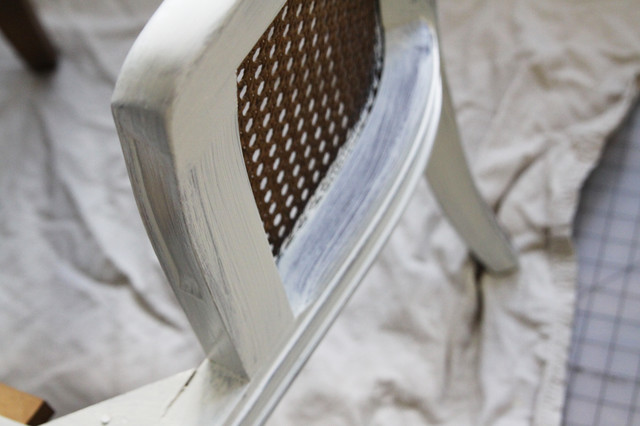
I usually don't worry too much
about that first coat of paint being perfect. Just make your way around
the chair until every surface has one coat. If it's a small piece I'm
painting, I put it on a drop cloth and then just rotate the cloth to get
all sides.
|
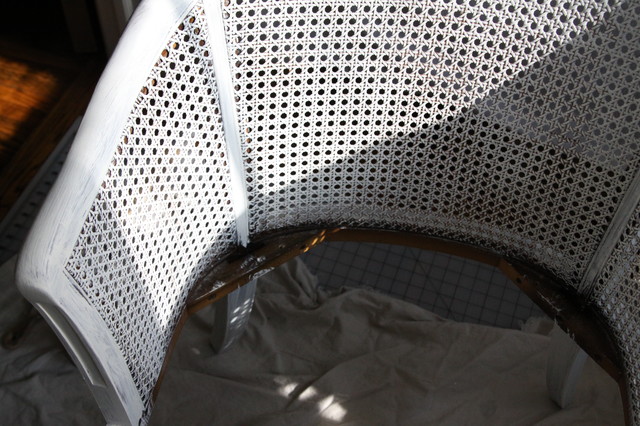
For the cane back I used a very
dry brush so there wouldn't be big drips of paint leaking through all
the holes. I just kept loading my brush slightly and painting in both
directions until the whole area was well covered.
|
Let the first coat dry thoroughly
and then apply a second coat. Pay more attention to getting everything
nice and even this time.
In many cases I will sand after the second coat has dried really well for a distressed look. If you decide to distress the piece, your paint job doesn't need to be perfect. |
To cover the cushions, I found a
neutral velvet for $12 a yard. Measure your cushions and be sure to buy
enough for the band and to make the cording if your cushions have it. I
always buy a little more than I think I need to be on the safe side.
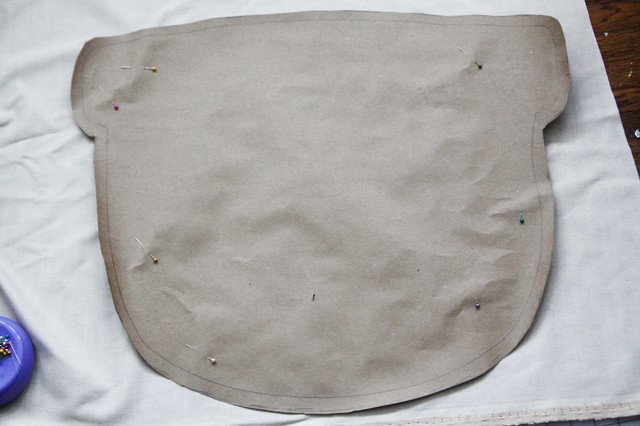
To make a pattern for the cover, I put the cushion facedown on kraft paper and traced it. I added about a half-inch for a seam allowance and cut out the template. To use the pattern, lay it on top of your fabric, then pin it and cut around the edges. |
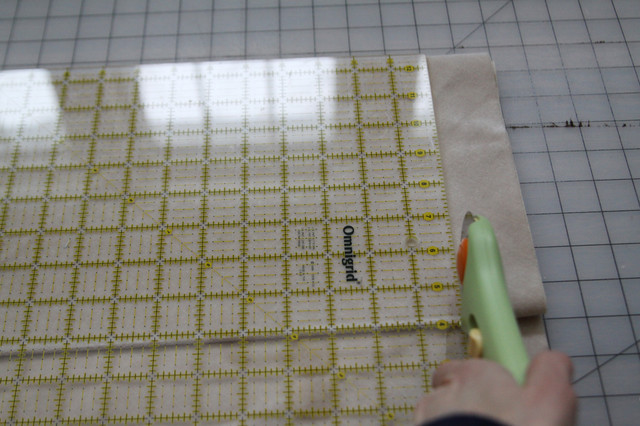
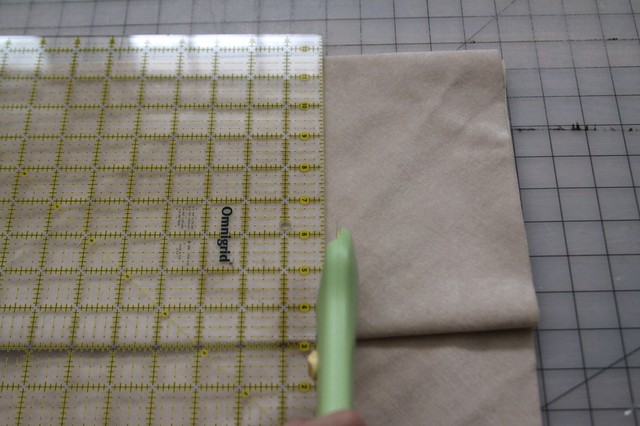
To figure how much cording you
need, measure around your cushions and add a few extra inches. To make
the piping, you need to cut strips of fabric. The width can vary
depending on how wide your cording is. I used a 2-inch strip.
|
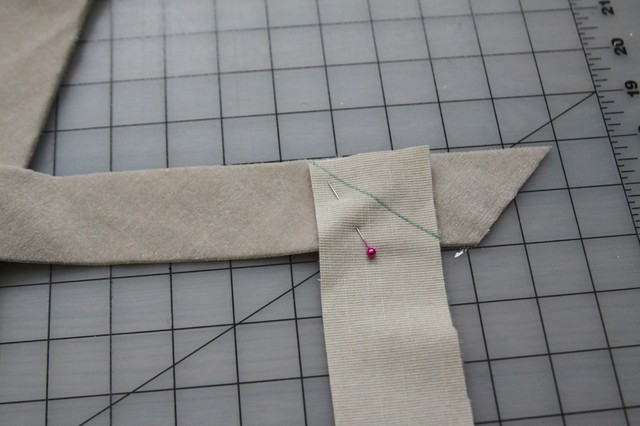
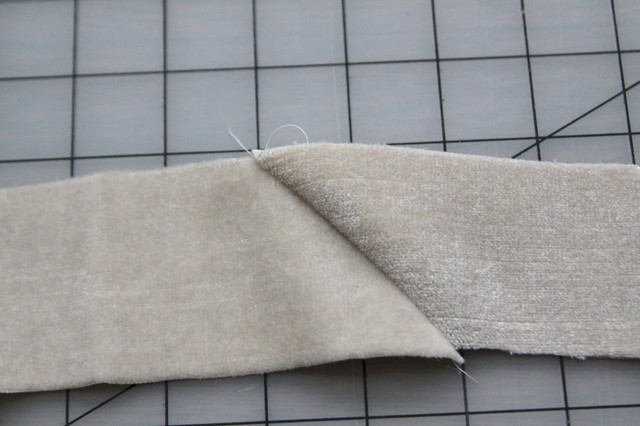
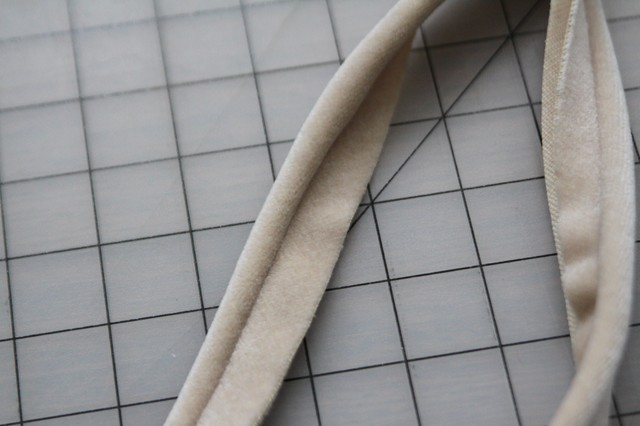
You'll probably need to join a
couple strips to make them as long as your cording. Pin the right sides
of the stripes together as shown and sew down that diagonal line.
|
When you open it up, it should look like this. Cut the excess in the back.
|
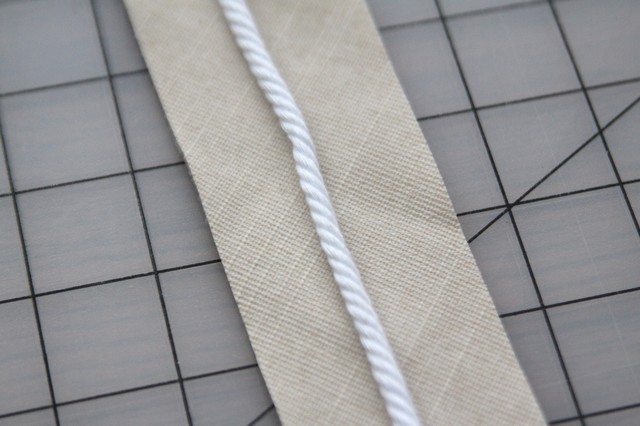
Place your cording inside the strip and fold in half.
|
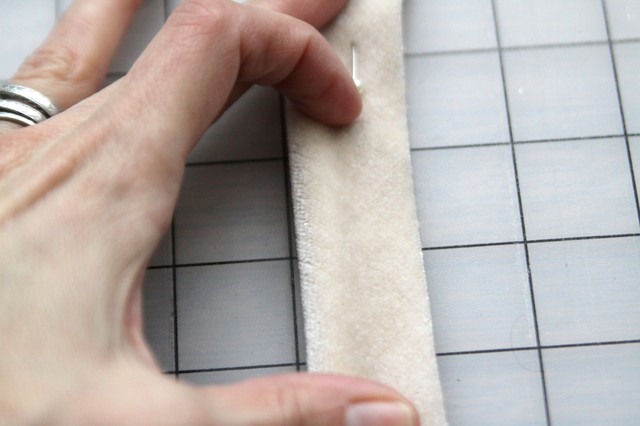
You can pin down to start out, but it's actually easier to just tuck it in as you go along.
|
You need a cording foot for your sewing machine; it allows you to sew right up next to the cording.
|
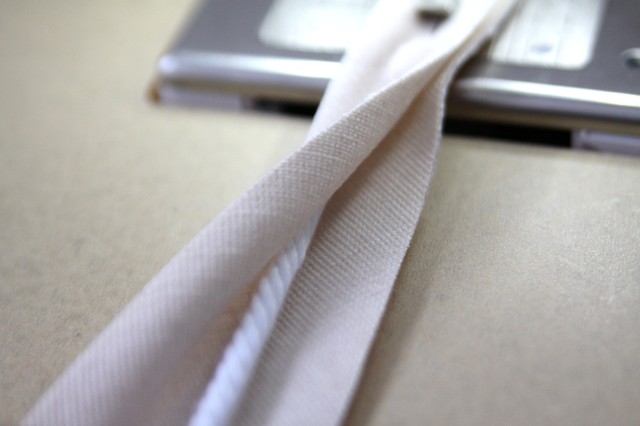
It should look like this when you are done.
|
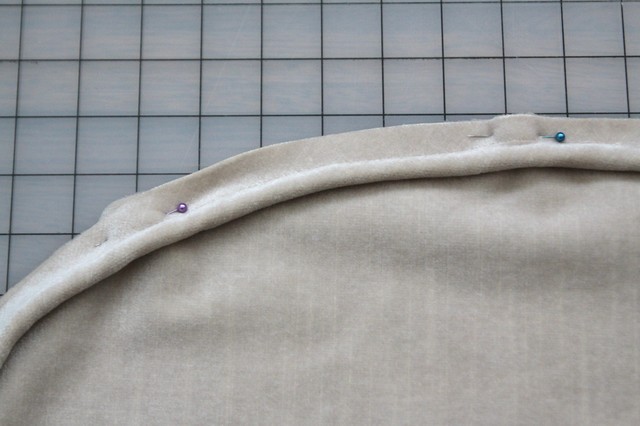
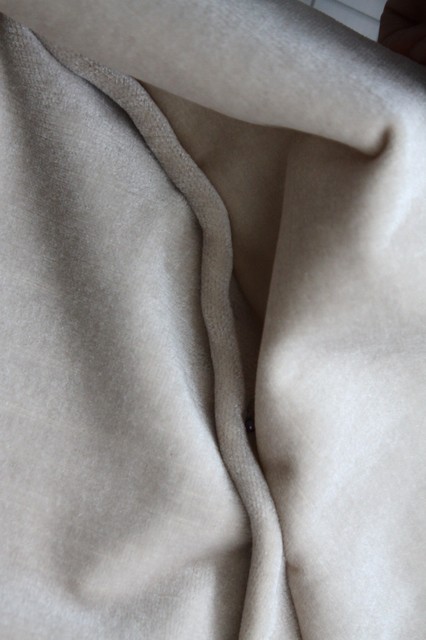
Pin the piping to the right side
of the cushion top. The edge of the piping should be facing out with the
cording on the inside, as in the photo.
When you get to the ends and need to join the piping, lay one piece inside the other and cut the cording down on one side until the pieces meet. |
Next you'll need to make a band
for the depth of your cushion. Mine was 5 inches. Just measure the depth
of your cushion and add a few inches so you have fabric you can pull
and staple in back.
|
You will probably need to join
your band, just like you did above for the piping. Once you have a band
long enough, pin with the right side on top of the piping and sew in
place. Try to place the seam in the back of the cushion so it's not
noticeable. At the ends, tuck one side into the other and sew in place.
It's on the back of the chair, so no one will see it.
|
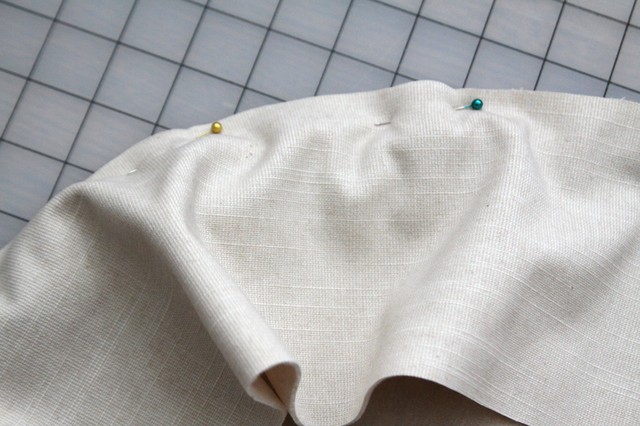
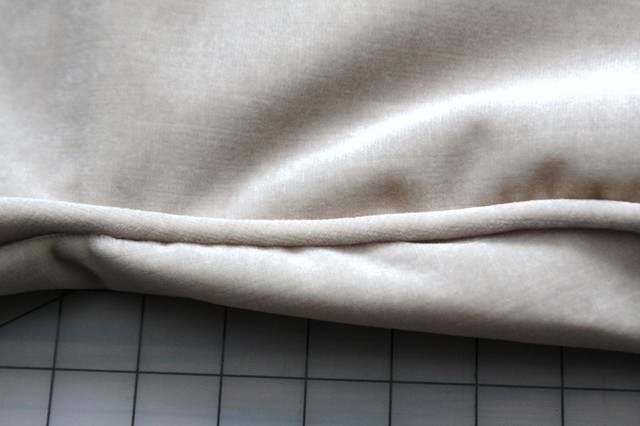
If you flip the piece above and open, this is what it'll look like with the piping between the two pieces.
Here's a photo of it all sewn together and turned right side out.
|
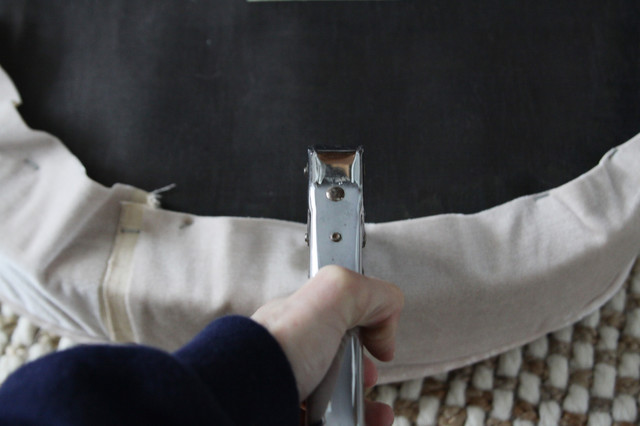
Pull the cover over your cushion
and flip your cushion to the back. Staple the cover in place,
alternating staples from front and back and then side to side. Flip over
between staples to be sure the cover is taunt and straight.
|
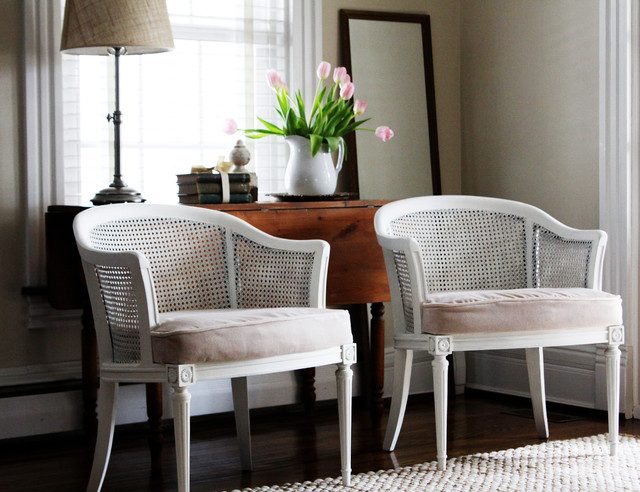
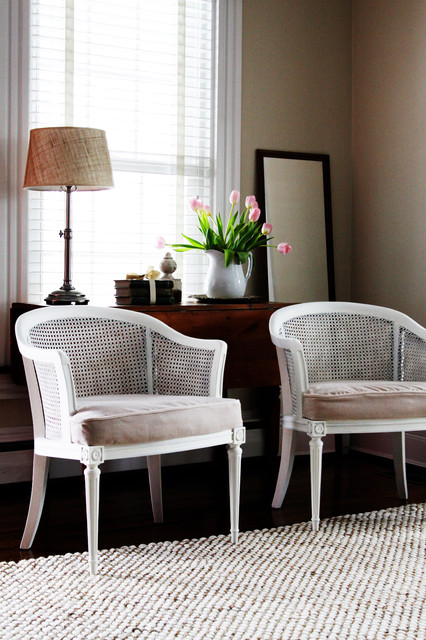
I placed my two new chairs in
front of a window in our living room. They look bright and fresh — and
the best part is, they didn't break the bank. The total cost for this
project was about $165.
I love the window sills deep like this...especially for a kitchen. This is very much in my design folder for future decorating!
ReplyDeleteI mostly put this revamping a chair and upholstery tips on here so I would have it saved for later use by me. But enjoy and I hope you find useful as well! It is from a very cool site I have found called houzz. Check this site out!!!
ReplyDelete